Step 4: Uploading Data
Step 4: Uploading to the Onboarding System
Typically when the onboarding transfer system is available for your use you will receive an email that looks like this:
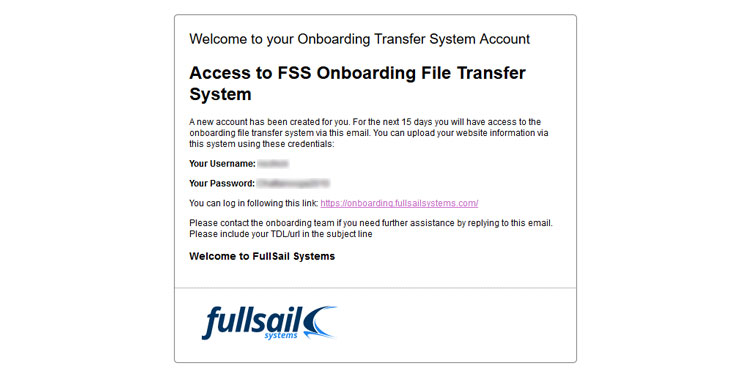
The email will contain your username and email. In addition, there will be a link that you can click to access the onboarding system.
Login to the Transfer System
You should be directed to a website that looks like this.
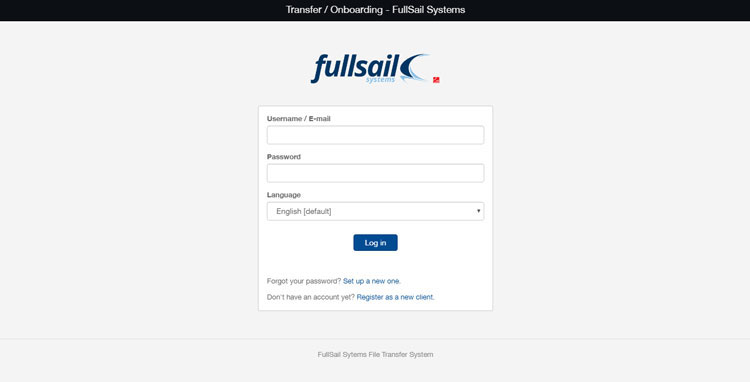
Please use the username and password that has been supplied in the email you have received to upload your web application content.
Once login into the system you will be presented with a home screen:
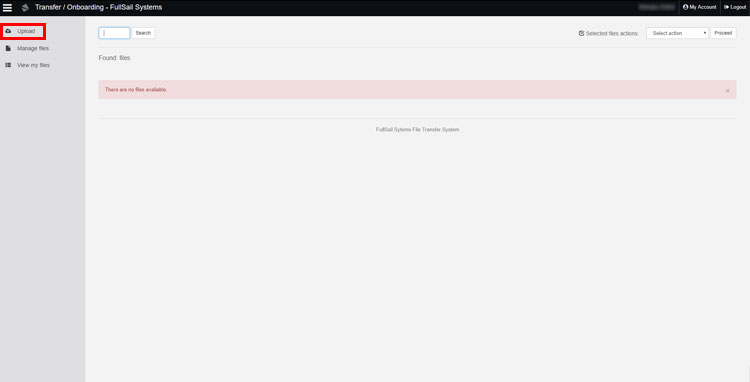
Please select "upload" in the right menu
You will now see the page below:
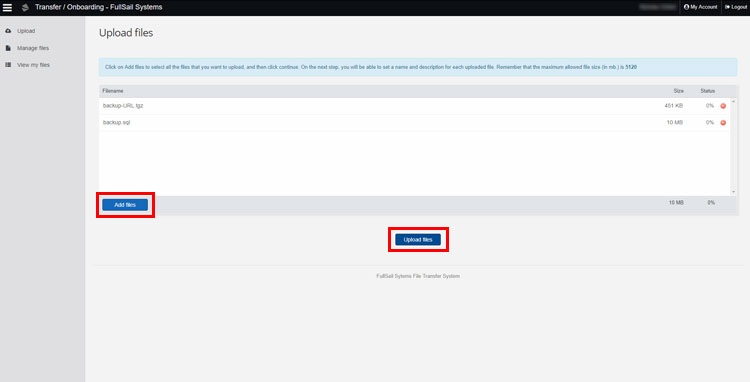
Please click on the "add files" button and select the prepared migration content. You can select multiple items at one time by holding the "shift" button on your keyboard will selecting files Once all files are added to this window you can then select "upload"
On completion of the upload, you will have a details page available where you can add details about the files that you have uploaded
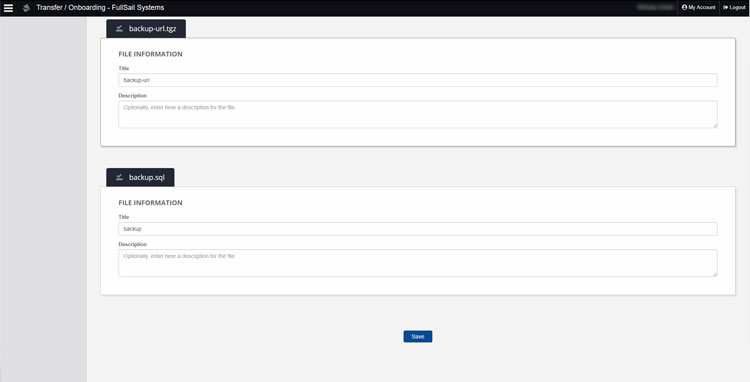
Please be as descriptive as possible. When finished please select submit at the bottom of the page.
You have now successfully uploaded your data for our onboarding staff.
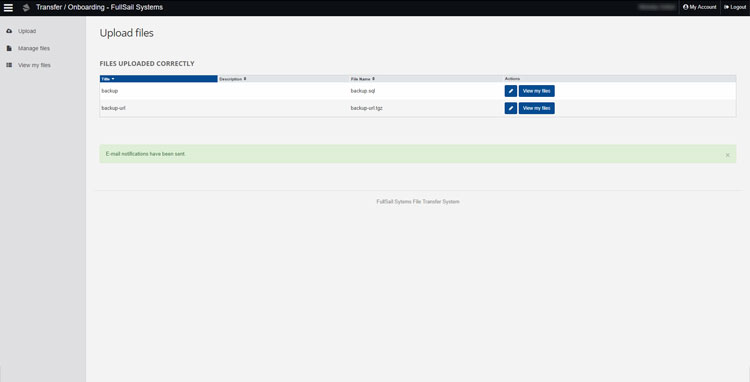
You can adjust the details, rename and delete the files you uploaded via the success screen. You will also be presented with this screen upon login to the system in the future.